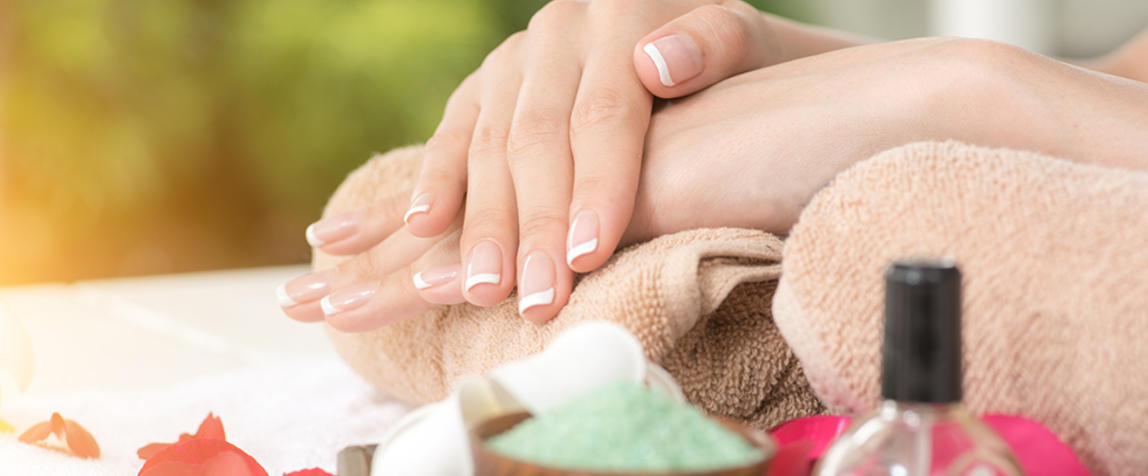
As the world remains in lockdown-like conditions, it seems more people than ever are turning to DIY beauty in lieu of the salon – at-home nail care in particular.
According to Glossy, nail care has seen a huge sales spike after a five-year slump, with sales of gel remover kits and at-home manicure kits having increased tremendously.
British nail brand Ciaté London, for instance, has even reported a 900% spike in online nail sales in April, compared with the same month in the previous year. Meanwhile, Nails Inc. said its e-commerce sales in the US have grown by 571% over the last five weeks, compared to the same period last year. Additionally, from April 8-22, sales of its gel remover kits increased 2,000% in the same timeframe.
Revlon’s nail polish sales have also grown 13.1% year-over-year, with sales of nail tools increasing by 15%.
So without further ado, BD has put together a comprehensive DIY-guide detailing how to perfect the art of at-home manicures, no matter your level of experience.
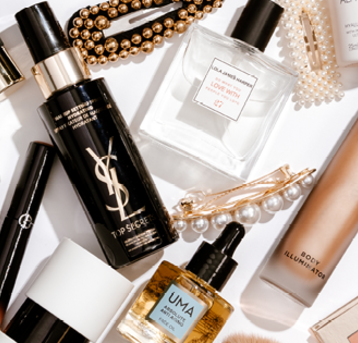
Before we start, it's helpful to note that combined manicure kits can often take the guesswork out of choosing the correct products for each individual step, while also saving time.
Try: Revlon Marchesa Runway Collection Manicure Essentials Kit, Mavala Switzerland French Manicure Kit, BeautyPRO Manicure Kit and Manicare Flawless French Manicare Kit.
Shape
According to Olive + June founder, Sarah Gibson, a salon-standard manicure starts with perfectly shaped nails.
The first step is to trim the fingernails with clippers, unless you want to keep your current length. Simply begin on the side and work your way across to avoid splitting the nail, Gibson told Allure.
When it comes to filing, start by using a nail file to mould nails into your desired shape. Then, professional manicurist, Lisa Logan recommends "starting from the sidewall to the centre on either nail,” as seesaw filing can cause hangnails. "Seesaw filing is when you move the nail file in a back-and-forth motion across the tip of the nail," she said. "Swiping it in one direction on either side of the centre will ensure a smoother finish."
Try: Tweezerman GEAR Precision Grip Fingernail Clipper and Revlon Designer Style Files.
Buff
If you want your polish to last more than three days, it helps to eliminate all traces of oil, dirt and polish residue so that nails have a clean base to cling to. Buffing also brightens, smooths, and creates natural shine, as well as removing ridges and giving you a perfectly prepped base to paint on, according to Logan.
To begin the process, simply slide a nail buffer across each nail for a few seconds, moving back and forth until the nail becomes smooth. It’s important to be gentle and sparing, as too much buffing can cause heat buildup and friction, which can damage and weaken the nails.
Try: Manicare Super Shine Nail Buffer and OPI Brilliance Long File.
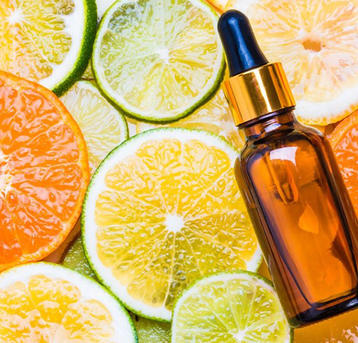
Cuticle care
Although many salons include trimming of the cuticles, most experts generally advise against doing this at home due to potential damage. Instead, it is recommended to “gently push back” the cuticles, and to keep them hydrated with an oil or serum (not just during your manicure, but all the time).
"Rub in cuticle oil directly on your cuticle using your fingertips, [and] softly but firmly push back the cuticle to reveal the nail plate," Logan told Allure. "This helps the nail look more elongated."
After applying the oil, wash off the oil with a nail brush and a bit of sudsy water. If desired, you can also cleanse the nails with a cotton swab dipped in isopropyl alcohol or facial toner, which will both ensure the polish sticks to nails without streaking.
Try: DB Cosmetics Soften Up Cuticle Oil and Mavala Switzerland Nail Brush.
Base
Now it’s finally time to start painting. According to manicurist, Betina Goldstein, the best way to do this is to “rest your hand on a table to keep it steady.” Begin with a thin layer of base coat nail polish to ensure an even application of colour and to prevent the polish from staining nails. Let the coat dry for approximately one minute, before proceeding to the next step.
Try: essie Nail Care Strong Start Nail Polish Base Coat, Sally Hansen Big Primer Base Coat and Raww Kale’d It Base Coat.
Colour
When applying your nail polish colour, it is recommended to always apply two coats, making sure to wait several minutes between each coat to help prevent dents and bubbles.
“When applying colour, start in the middle of the nail bed and work your way to the sides in thin, even layers," Goldstein said. “And paint the tip of the nail, as it helps seal the colour.”
But as most people are aware, sometimes advice can be difficult to manifest.
"The biggest problem with at-home manis is that it's just hard to paint with your non-dominant hand," Gibson added. To help minimise mistakes, assume the professional nail-tech position by sitting at a table with your elbows rested and hands supported on the surface. This helps keep the arms steady while painting.
Try: COLOUR by TBN California Dreaming Collection, Mavala Switzerland Retro Color’s Collection, Sally Hansen Good. Kind. Pure. Collection and OPI Peru Collection - Infinite Shine.
Top coat
Finally, apply a quality top coat polish to help seal the colour, make your mani shine and prevent chipping. After the coat dries, Gibson recommends to keep hydrating the hands throughout the day so that the cuticles and nails remain healthy.
For even better results, it’s also a good idea to re-apply a top coat every two to three days.
Try: essence extreme shine top coat, Revitanail 3D Top Coat and Revlon Ultimate Shine Top Coat.
Voilà! Your at-home mani is now complete.
And although it may seem like a lot of work, according to Gibson, “owning your nail routine means you can always have a fresh mani and easily fix a chip or a smudged nail." As a bonus, some people like to pair painting nails with watching a favourite TV show or listening to a podcast.